You Just Need
A White Coat
Today, we cooks have all kinds of new products to process the various meats that we love to store in the freezer. Electronic sealers, zippered freezer bags and machines that vacuum pack into plastic bags can be costly and, though they promise no freezer burn, often times, the frost and freezer burn still appear. I love my FoodSaver Vacuum sealing system, but I have to say, the tried and true wrapping in freezer paper, like I did at my job in the meat department many years ago, still seems to be the best way to preserve food in the freezer. In fact, if you really want to preserve your meats, you can vacuum pack them and THEN wrap them in freezer paper.
I continue to wrap most of my meats in the wax coated freezer paper that can be found at any store. It comes in a large roll that is found in the same grocery section with the plastic wrap and aluminum foil and wax paper. The most common brand is Reynolds. I thought that I would show you how I have wrapped my meats for the past 35 years, having cut and packaged meat professionally after graduating college. (An art degree just didn’t put food on the table – let alone wrap it!!! )
What you need:
Roll of freezer Paper
Freezer tape or Masking tape
Sharpie for labeling
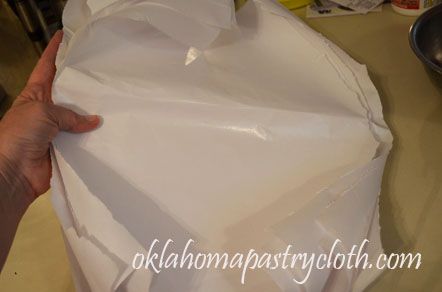
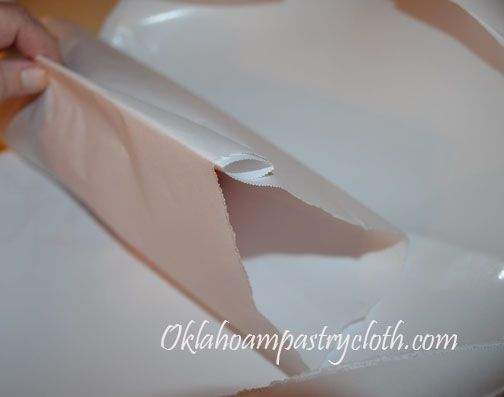
Cut paper to at least 6″ wider than the object that is going to be wrapped. If you are doing large steaks, use two thicknesses of wax paper to place between the steaks. If you are wrapping small steaks or pork chops, chicken breasts, etc, lay the meat side-by-side with large end of the first piece of meat next to the small end of the second piece of meat. The freezer paper should be at least 6″ wider than the width of the two together.
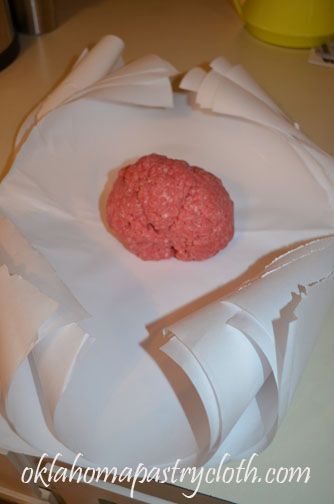
Place the meat in the center of the paper. Here, I am wrapping one pound balls of ground beef.
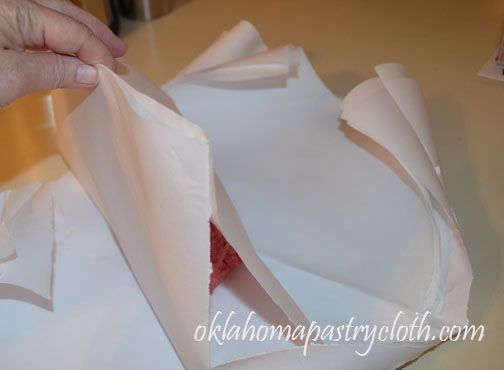
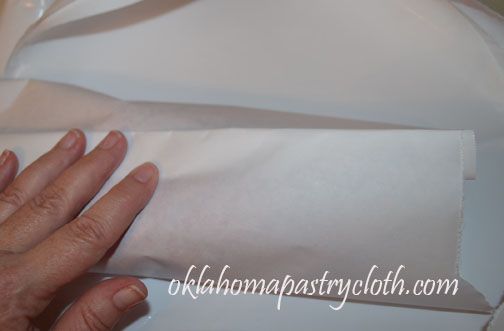
Pull uncut ends of the paper up between fingers and match the edges so that they are equal and even.
Fold over and slide fingers across the crease to make flat and crisp
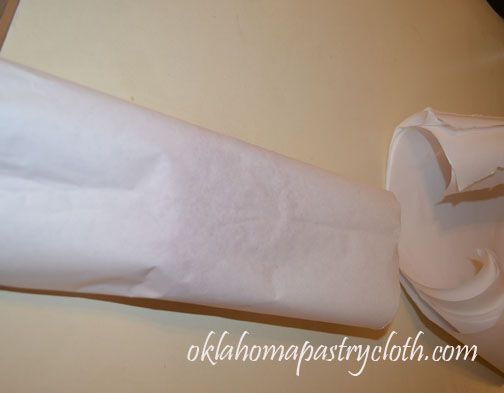
Continue folding and creasing over and over until your fingers are stopped by the meat inside the package
Press the flattened roll to the top of the package to make a flat seam
Turn package over to seam side down
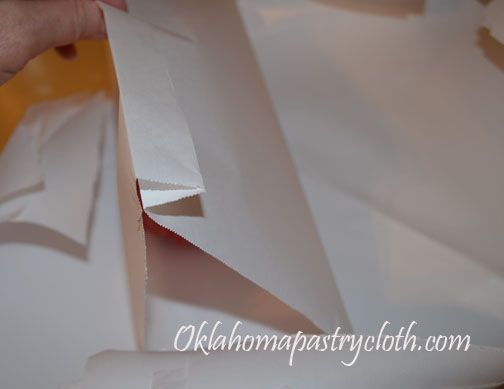
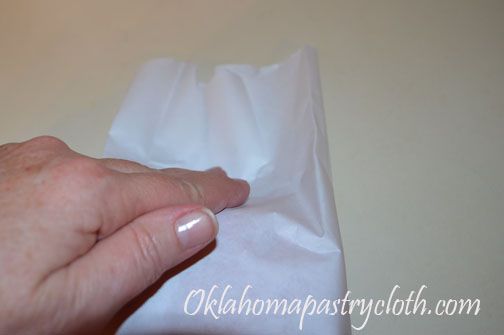
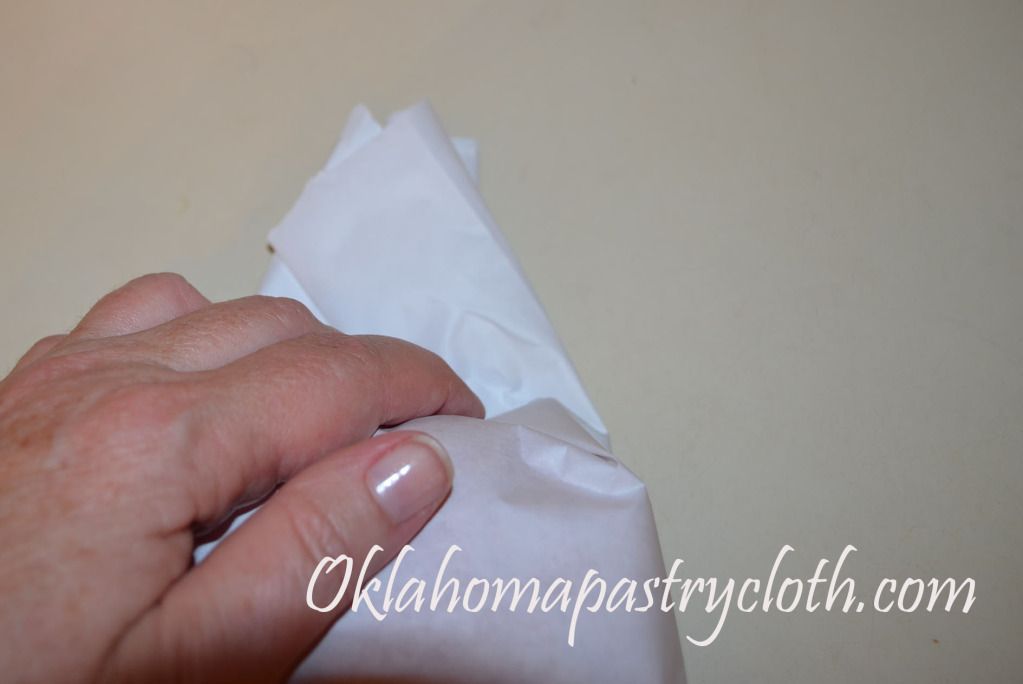
Press finger tips into the end of the package to force down the top paper into the bottom, as done when wrapping a present
As in wrapping a present, fold the edges over to a point
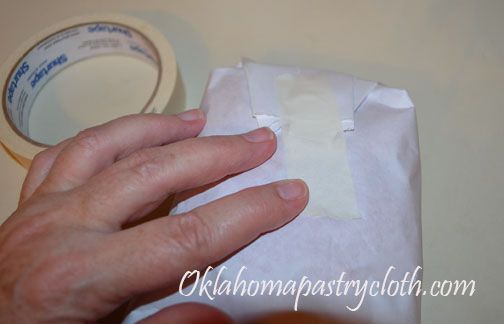
Pull pointed end over to the back of the package and tape. Repeat process for the other end of the package
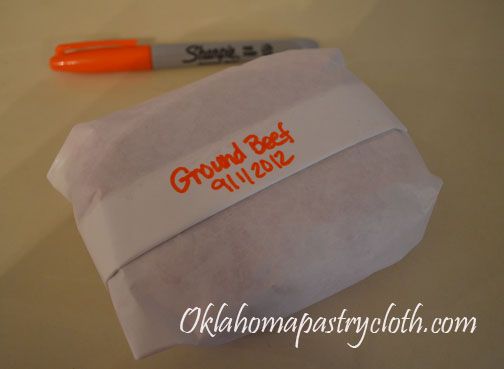
Turn the package over to the seam end and write the date and what type of meat has been wrapped.
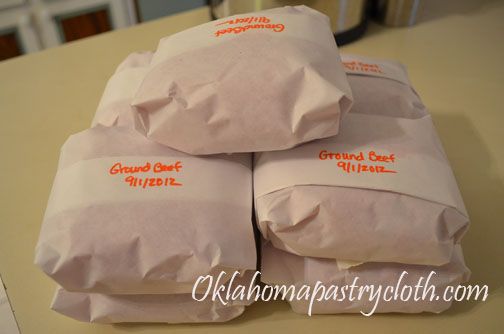
Stack packaged meat and then carry to the freezer. Lay meats into the freezer in layers of one to two packages deep on several shelves until they are completely frozen. Stacking too much unfrozen meat into one area of the freezer keeps flash freezing from occuring and can make the packages freeze unevenly. Once frozen, you can move and stack them however deep you wish.
Happy Wrapping!
MB
Oklahoma Pastry Cloth™ Company on Facebook
THUMBTACK.COM
for the Oklahoma Pastry Cloth™ Company


